
Master Laminated Dough: Expert Techniques for Perfect Pastries Every Time
Laminated dough is the foundation for many delicious pastries, from buttery croissants to flaky puff pastries. Perfecting laminated dough takes patience and technique, but the results are more than worth the effort. With the right tools, ingredients, and a step-by-step process, you can achieve perfect pastries every time.
Ingredients:
- 2 1/4 cups (280g) all-purpose flour
- 1 tbsp granulated sugar
- 1 tsp salt
- 1 tbsp instant yeast
- 1 cup (240ml) cold water
- 1 1/2 cups (340g) unsalted butter (cold, cut into cubes)
- 1/4 cup (30g) all-purpose flour (for butter block)
- 1 egg (for egg wash, optional)
Tools You’ll Need:
- Rolling pin
- Dough scraper
- Pastry brush
- Parchment paper
- Baking sheet
- Sharp knife or pizza cutter
Step-by-Step Instructions:
Step 1: Prepare the Dough Base (Detrempe)
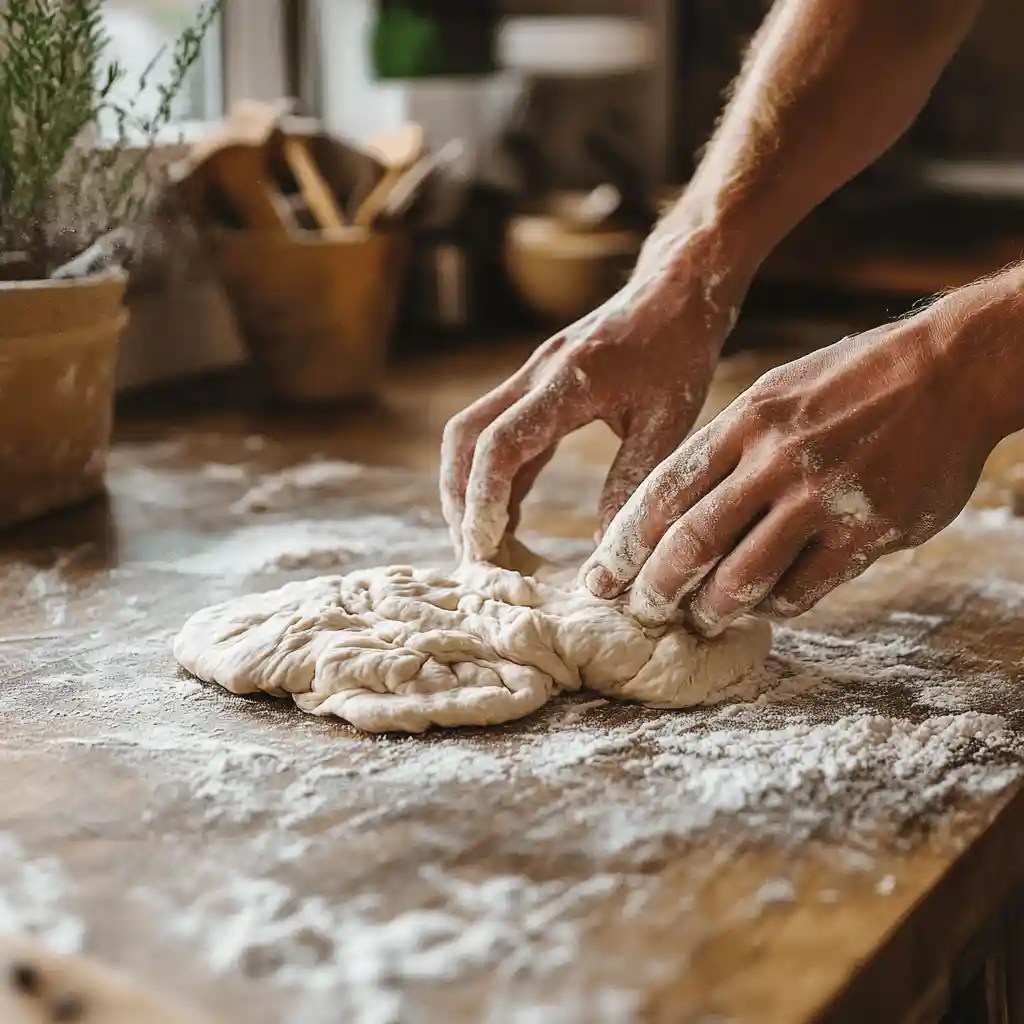
- In a large mixing bowl, combine all-purpose flour, sugar, salt, and instant yeast. Stir well to distribute the ingredients evenly.
- Gradually add the cold water, mixing until a dough starts to form. Use a bench scraper to bring it together.
- Turn the dough onto a lightly floured surface and knead for about 5-7 minutes until smooth.
- Shape the dough into a ball, wrap it tightly in plastic wrap, and chill it in the refrigerator for at least 30 minutes. This resting period helps to relax the gluten and makes rolling the dough easier.
Step 2: Make the Butter Block (Beurrage)
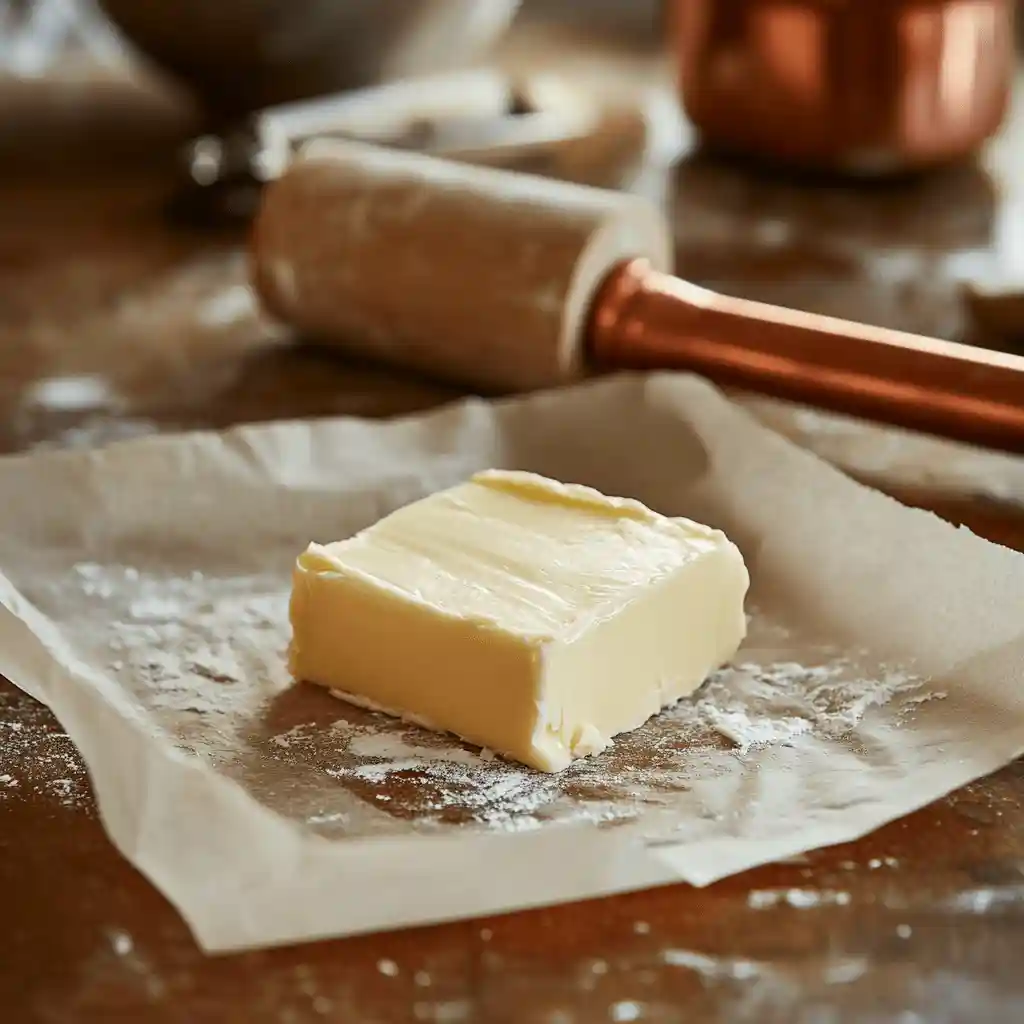
- While the dough is resting, prepare the butter block. Place the cold unsalted butter and the extra flour in a mixing bowl.
- Using your hands or a rolling pin, flatten the butter into a 7×7-inch square between two sheets of parchment paper. The butter block should be cold and firm but pliable enough to roll without breaking. Once ready, refrigerate to keep the butter cold.
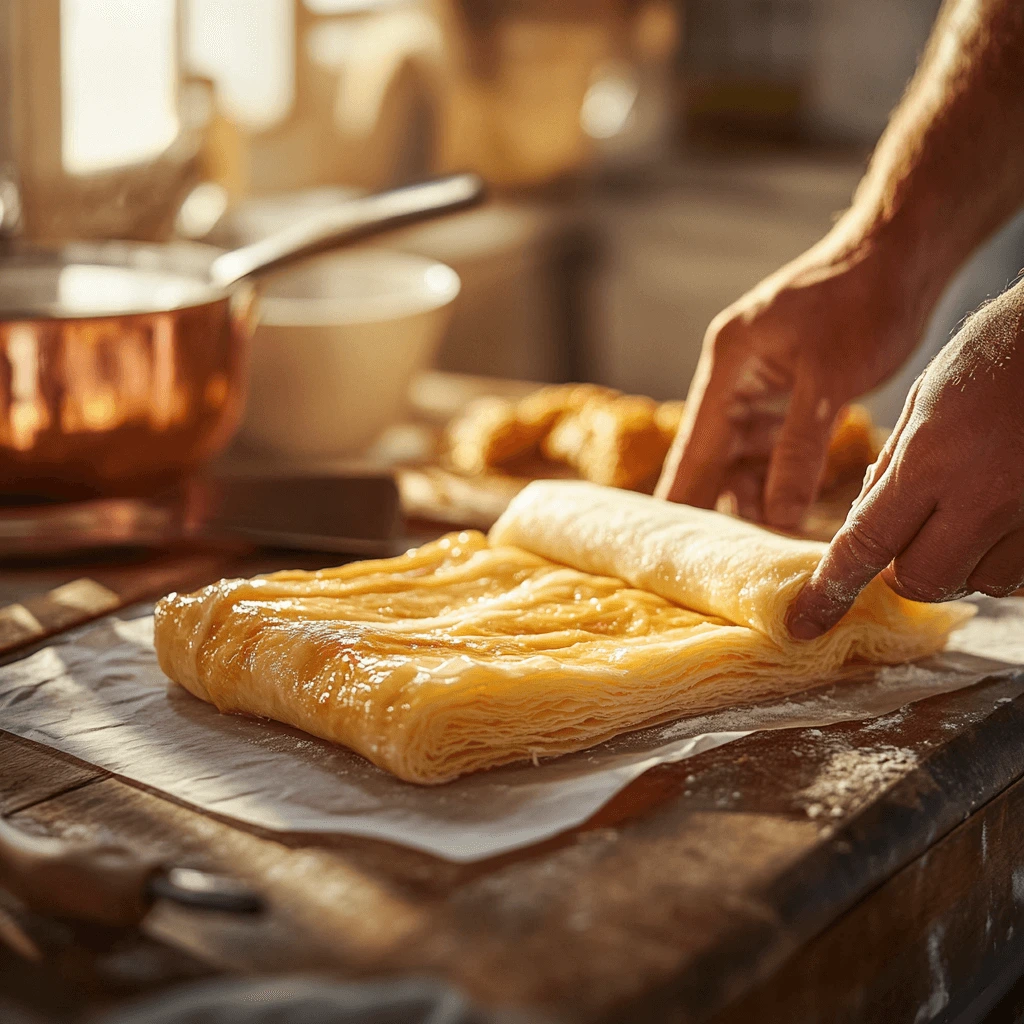
Step 3: Laminate the Dough (Lamination Process)
- After the dough has chilled, roll it out on a lightly floured surface into a 12×12-inch square. Place the butter block in the center of the dough.
- Fold the corners of the dough over the butter to completely encase it, like an envelope.
- Gently roll the dough into a 12×24-inch rectangle. Take care to maintain an even thickness as you roll.
- Perform the first fold by folding the dough into thirds, like folding a letter. This is your first “turn.”
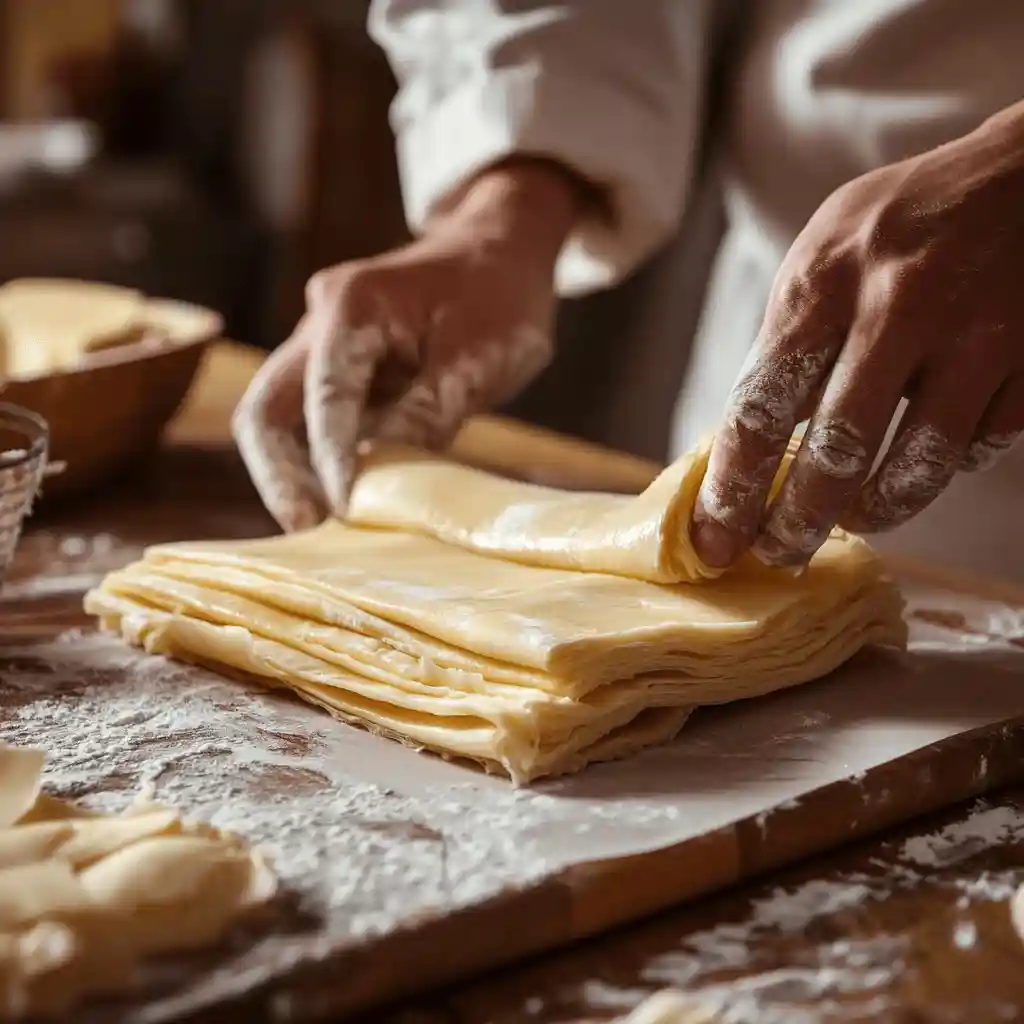
- Wrap the dough in plastic wrap and chill for 30 minutes to an hour to allow the dough to relax and the butter to set.
- Repeat the rolling and folding process for a total of 4-6 turns, resting the dough in the refrigerator for 30 minutes between each fold. This process creates the layers that result in a flaky, buttery texture when baked.
Step 4: Shape and Proof the Pastries
- Once the dough has been laminated and chilled, roll it out to a thickness of about 1/8 inch (3mm). Use a sharp knife or pizza cutter to cut the dough into desired shapes, such as rectangles for Danish pastries or triangles for croissants.
- For croissants, roll each triangle tightly, starting from the wide end. For other pastries, fold the dough into your preferred shape and place it on a baking sheet lined with parchment paper.
- Allow the shaped pastries to proof for about 1-2 hours at room temperature until they’ve doubled in size. The yeast will create air pockets that expand as the dough rises, giving your pastries the light, airy texture.
Step 5: Bake the Pastries
- Preheat the oven to 400°F (200°C). If you like, brush the pastries with a lightly beaten egg wash to give them a beautiful golden finish.
- Bake the pastries for 15-20 minutes or until golden brown and crisp. The layers should be flaky and separated, showcasing the perfect lamination.
Step 6: Enjoy!
Once the pastries are baked, allow them to cool slightly before enjoying. The buttery, crisp layers will melt in your mouth, proving that mastering the laminated dough technique was totally worth it.
Looking to try another delicious laminated pastry? Check out our guide on Flaky Swiss Gipfeli: A Step-by-Step Guide to Perfect Pastry for more expert pastry-making tips and techniques.
This recipe uses various techniques such as lamination, folding, and chilling to ensure that your pastries have the perfect flaky texture and buttery layers. By understanding the importance of the butter block and giving enough time for proofing, you can create professional-quality pastries right in your kitchen.